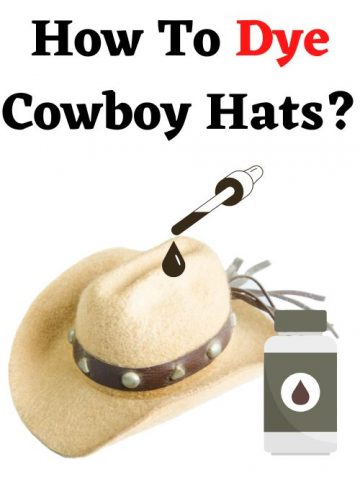
After years of wearing cowboy hats, they will slightly fade over time, dyeing is one of the greatest ways to bring them back to life. However, not everyone knows that thing, they wonder if they can dye their cowboy hats or not.
The truth is every cowboy hat can be dyed. And the only thing you should note is that each cowboy hat’s material will have different dyeing techniques.
Most cowboy hats are made from straw, felt, or leather. Choosing the right type of dye for a specific material is necessary! The good thing is, nowadays, it’s very easy to find a suitable dye on the e-commerce site.
Using the right dye for the right material will make sure your hat can last longer and has sharper look!
This article will show how to dye all types of cowboy hats and provide step-by-step instructions for each of them.
We will divide the article into three parts, each part will be a tutorial for dyeing a specific hat material.
Let’s check it out!
Key Takeaways
- The most important thing is choosing the right dye for each material (straw, felt, and leather). The methods for each material are not much different.
- Always clean your cowboy hat first before starting to dye.
- Apply the dye evenly on the surface to make it look sharp as possible. Don’t leave residue on the surface, make sure the dyeing surface is smooth after the process (2 or 3 coats are good).
- Wait for the dye to completely dry! Then you can clean it again for a better look.
Clean your Cowboy Hat first, then Dry it
First and foremost, you need to make sure your hat is totally clean. Any dust or dirt can make the hat’s surface not smooth and affect the dye, which results in inconsistent color.
You will also need to know how to clean cowboy hats for each material.
Clean leather cowboy hat
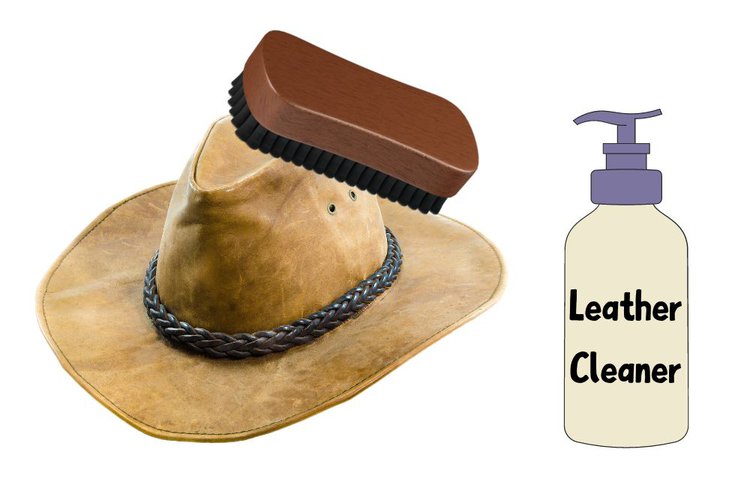
For a leather hat, you need to prepare a leather cleaner, and a horsehair brush (or soft bristle brush).
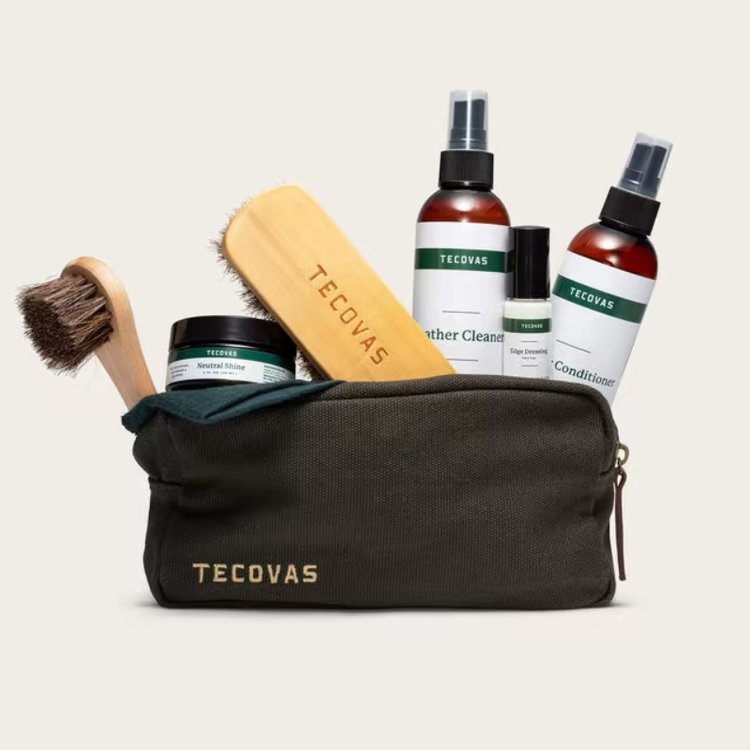
Image copyright Tecovas Boot Company | #CommissionEarned | Click image for more info on Tecovas
Here is a step-by-step guide:
- Pre-clean your cowboy hat: use the brush to rub on the cowboy hat surface, making sure all the dirt falls off.
- Dampen and rinse the brush, and pre-clean the hat for the second time. Then apply leather cleaner on the brush (or directly on the hat surface). Rub thoroughly every nook and cranny of the hat. Make sure all the dust, dirt, or stain are removed.
- Clean the brush with water, and use it to wipe off all the excess cleaner left on the surface. You can repeat all the above steps to have the most effective result.
- Then use a dry and clean cloth to wipe the cowboy hat the last time. Keep it dry and clean.
Clean felt cowboy hat
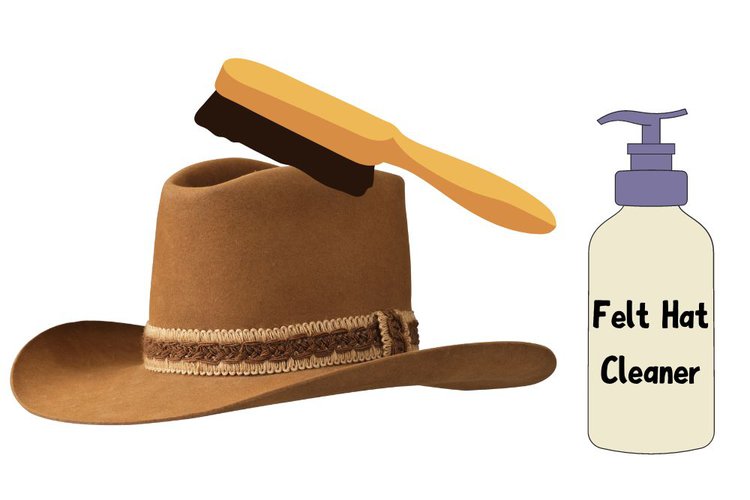
Felt is a very easy-to-clean material. First of all, choose a high-rated felt cleaner and a hat brush.
Then follow these steps:
- Pre-clean the hat with a damp brush, don’t use warm water (or it can shrink the hat). Rub the brush on the hat surface to remove the dirt. Make sure the surface is smooth after the pre-clean process.
- Apply felt cleaner on the brush or hat surface, then rub it thoroughly in every nook and cranny. Clean the brush with water, rinse it, then use it to wipe off the excess. The hat surface needs to be perfectly smooth after this step. Repeat these steps if needed.
- Use a dry and clean cloth to finish cleaning the hat. Wipe thoroughly to make sure your hat is clean and dry.
Clean straw cowboy hat
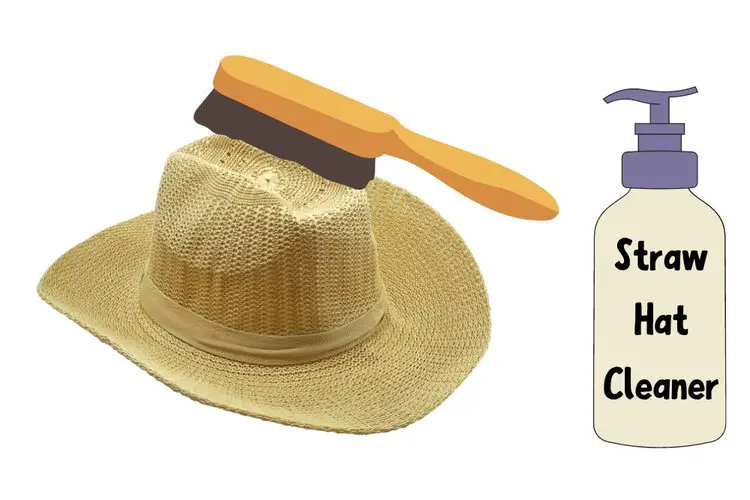
Alright, here is the last material on the list. For a straw cowboy hat, you will need to prepare a brush (like the above method) and a straw hat cleaner.
In case you don’t have a straw hat cleaner, mix hydrogen peroxide and water with a ratio of 1:1.
Here is the process:
- Use the brush to brush the hat surface – the main purpose of this is to make the hat surface smooth and remove the large dirt.
- Apply the cleaner (or the mix solution) on the surface, then use the brush to rub thoroughly all over the hat to make it smooth, and clean.
- Clean the brush with water, rinse it, keep it damp and wipe off all the dirt on the surface. Repeat if needed, that’s it!
- Wait for it to dry and prepare for the next step!
Dye cowboy hat: Step-by-step instructions
Don’t rush to dye the cowboy hat right after cleaning it. You should wait for it to dry inside out. That makes sure the dye will seep deeply into the hat texture!
If your cowboy hat has a band, remove it!
For leather cowboy hat
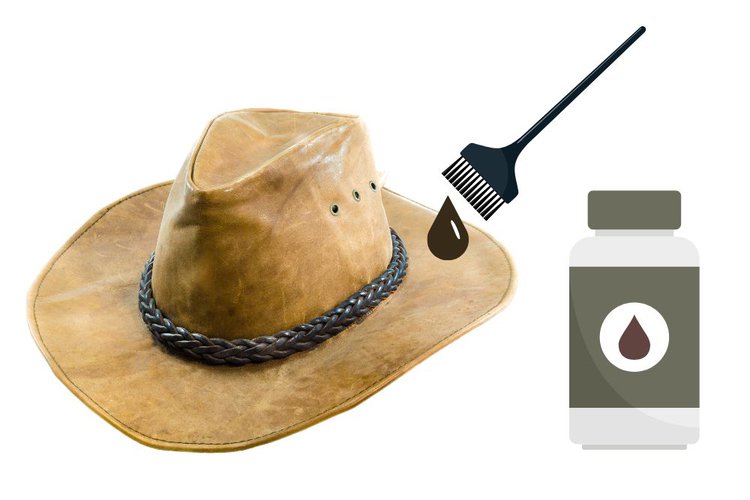
Now, make sure you choose the right type of dye for your hat. As for the leather hat, I’m sure that leather dye is good for it.
You will need to prepare the following things:
- A leather dye kit
- A soft, clean, and dry cloth to wipe off any residue
- Thin rubber gloves to protect your hands
- A soft brush (I prefer the old horsehair one) and the foam brush to apply dye
- Wool daubers ball brushes: apply the dye in the small nook or corner
Step 1: Put on the gloves, apply the preparer solution (in the leather dye kit) to the brush and scrub thoroughly the surface of the hat. It makes sure the dye can work best for the leather, and the color will be good and even.
Step 2: You should pour the dye into the small plastic container (mix it if the instruction says it), then dip the foam brush into it and rub evenly and thoroughly the leather hat surface.
Tips: In case you don’t want to dye some parts of your cowboy hat, use tape to cover those areas.
Make sure all the nooks, stitches, etc. are covered by the dye. In case the foam brush is too large to reach the narrow part, you should use the wool daubers ball brush that I mentioned above.
In fact, each dye brand will have some different notes, you should take a look before working.
Step 3: Wipe off the residue and leave the dyed hat in a safe place from 24 hours to 48 hours to make sure it is completely dry!
In case your cowboy hat makes from suede, then the process ends here! You just need to wait for it to dry. Then use the suede brush to rub carefully to ensure a smooth surface and consistent color.
Apply 2 or 3 coats can be good to make a perfect finish.
Step 4 (optional): In case you want to make your hat shiny, you should use the self-shine color dye.
After the cowboy hat is dry, use a clean and dry cloth to wipe off the excess again, making sure the surface is smooth! Then apply the self-shine color dye into a sponge or foam brush and rub the hat carefully (like when you dye it).
And wait for the hat to dry! That’s all! You can take off the gloves!
For felt cowboy hat
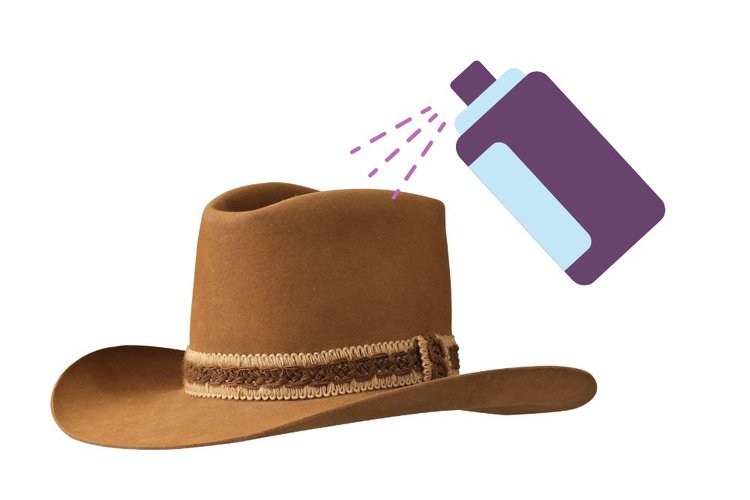
Felt is a type of material that is super easy to dye, the most important thing you need to note is that try to make the color even.
After cleaning the felt cowboy hat, keep it dry. Prepare the tools like the instruction for dying leather hats, but change the leather dye with a good fabric dye.
Now, let’s get started!
Step 1: Read the instruction for the fabric dye product. Each brand will guide you to mix the dye with water and salts or something else. So don’t forget to do this.
Put on your gloves, and deep the foam brush into the dye mixture according to the instructions. Don’t forget to remove the hatband.
Step 2: Use tape to cover the part you don’t want to dye. Rub carefully on the surface of the cowboy hat and use the wool daubers ball brush to dye the narrow part of the cowboy hat such as dents and creases on the top.
Most importantly, as I said, is to make sure the color is even! So, try to rub it thoroughly and carefully.
I often apply 2 to 3 coats for the best look!
Step 3: Wipe off all the excess on the surface with a clean cloth and wait until it’s dry. It can take you a day to two.
When the cowboy hat is dry, continue to wipe off the excess on the surface with a clean and dry cloth.
That’s it, done!
For straw cowboy hat
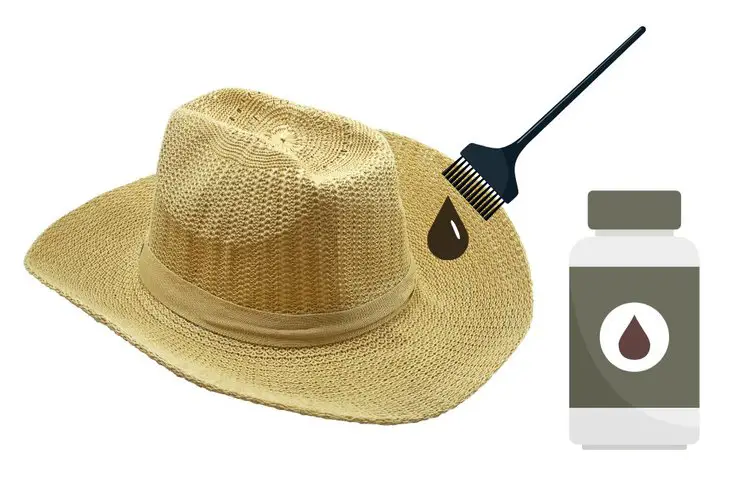
Like the above, I will not change the dye tools except the dye product. It’s very difficult to find a specific dye for straw. In this case, I will pick some types of dye that stick well.
The reason is that straw is not easy to dye like leather or felt. Dye solutions are not able to easy to seep into the texture. Some dyes for synthetic fabric may be a good choice.
Except for the dye solution, just prepare the same tools for leather and felt hats as shown above.
Now, let’s jump into the process!
Step 1: Put the rubber gloves on, and mix the dye following the instruction of the brand. Then, dip the foam brush in the solution and rub it on the surface of a straw cowboy hat.
Like the above method, if you don’t want to dye some parts of a cowboy hat, just use tape to cover it.
Step 2: Rub it well, and use the ball brush to dye the nook and crannies of the hat. Because it’s not easy for the dye to stick to the straw hat firmly like leather or felt, you will need to apply 3 to 4 coats.
I often apply the first coat, then wait about 10 minutes to apply the next one! And repeat the process until the last coat.
Step 3: Make sure you wipe off all the residue of the dye with a clean cloth after each coat to make sure the dye is even.
That’s it, now wait about 2 days to make sure your hat is completely dry!
Before you leave
Try to store your hat in a safe place to keep it away from dust. Wet dye is very easy to stick to dust and this will ruin your hat.
Once your cowboy hat is completely dry, you can clean it again to keep the color more consistent and beautiful.
Overall, the steps for dyeing all types of cowboy hats are not much different, just be careful when choosing the dye. It must be suitable for each material.
That’s all you need to do!
Howdy y’all! I’m Grace, a Western style enthusiast with over 5 years of experience. From cowboy boots to western gear, I’m passionate about all things Western and dedicated to helping you find the perfect style to suit your taste. Join me and my fiancé Jay Gatz as we explore the rich history and timeless appeal of Western fashion together!
Wes
Sunday 6th of July 2025
What product do you use for dyeing a straw cowboy hat? I cannot find anything dye for straw. My hat is a natural color George Strait hat and I would probably call it bone color or off white but I might be okay with pure white but would be more work