Usually, old cowboy boots will be a useful guinea pig for the creativity of many people, some people like to use them as flower pots, others make them bird nests, etc.
But among them, some others like to restructure their cowboy boots in a weird way like cutting them down.
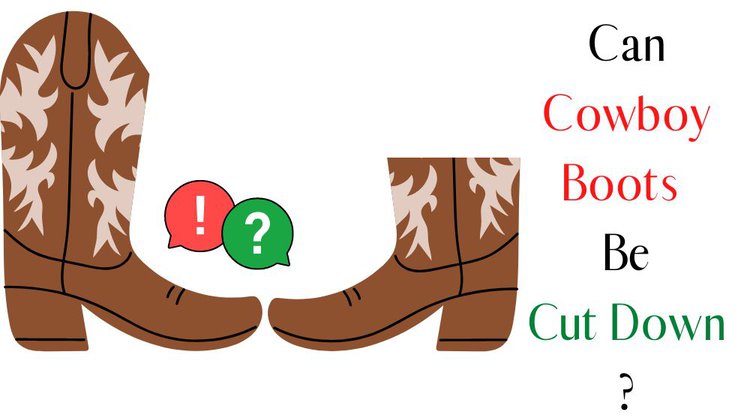
If you’re on a budget and still want a new style of cowboy boots, then cutting down cowboy boots can be a good way.
Is that possible? Today’s post will tell you!
Quick Navigation
Cut Down Cowboy Boots: Is It Possible? And How?
You can totally cut cowboy boots short. If you are a crafty person, you can do it at home. But if not, find a good cobbler, he will do it quickly and perfectly.
In general, cutting down cowboy boots is quite easy because, unlike other boots, they do not have eyelets or tongues at all. They won’t be messy at all!
For boots like hiking boots, you may need to reattach the eyelets, trim the tongues, and add padding at the collar. But with cowboy boots, it’s not really necessary.
For girls who love traditional cowboy boots with high shafts while also favor booties or ankle boots, this is a good way to achieve it! Just cut down the shaft of cowboy boots!
All you need is a marker pen (which can be erased), a pair of leather scissors (or a very sharp pair of scissors), a ruler, and a set of leather stitches. They are the basic items.

Step 1: Measure and draw the cut line – Make sure the height of the 2 boots is not unequal
Use a ruler to measure cowboy boots and mark where you want to cut.
For example, the cut is 5 inches from the top of cowboy boots, make sure both boots after cutting have an equal height.
There are different ways to cut boots, you can cut them in a straight line or in a curve.
If you cut them in a curve, you can draw 2 curves up or 2 curves down on either side of the cowboy boots. It’s up to you.

If you’re not confident with a hand-drawn line, use curved rulers to make sure the line is nice and even.
Step 2: Start using scissors to cut the leather
This is a simple step, just use scissors to cut across the shaft of cowboy boots following the line you drew.
However, if your scissors are small, don’t try to cut both sides of cowboy boots at the same time. Cut a small slit in the center, and then thread the scissors in the slit and cut each side of cowboy boots until the top of the boots splits off.
Step 3: Sew the top of cowboy boots to reinforce them

Continue using the marker pen to draw 2 lines close to each other, about 1/8 to 1/4 inch from the top of cowboy boots. That will be where you sew.
Next, use a leather sewing needle to sew the top of the boots. This may not be easy (leather is harder and thicker than fabric) and you may need a sewing machine. You can still use your hands, but it will take some effort.
If you notice, after cutting cowboy boots, some of the stitches of the shaft will come apart right at the cut. Don’t rush to remove them, once you sew the reinforcement seam 1/8 inch away from the top (or 1/4 inch – a little below the top), it’s fine to just remove the top seams that are almost untied.
About 2 seams close together will ensure that the leather at the top of the boots does not peel off after a period of use. This is the step that really requires your ingenuity!
Another way:
Or you can also fold the new cut to the inside of cowboy boots and sew it into the boot. This requires you to leave a fair amount of shaft space of 1 1/2 to 2 3/4 inches) to be able to flip it from the outside to the inside.
When pressing the new cut inside cowboy boots, make sure it is about 1 to 2 inches from the top.
Use marker paint to mark the stitching around the top of the boots and start sewing. 2 lines of stitches close together will ensure the leather layers stick together.
Voilà, it’s done!
Step 4: Attach the pull strap (optional)
Using the leather part of the shaft you just cut, cut a piece of leather about 1/2 inch wide and about 4 or 5 inches long. You can adjust the length depending on the height of cowboy boots. Please measure carefully with a ruler.
If you cut the boots in an upward curve on their sides, we can fasten a pull strap there. But if it’s 2 curves down, then we can add a strap on the back of cowboy boots.
If you sew 2 pull straps on both sides, you will need to cut 4 leather strings. But if you sew only one pull strap on the back of the boots, 2 leather strings are enough.

If you cut in a straight line, whatever.
Use a marker pen to mark the sewing points on the sides (or back) of cowboy boots, and sew the two ends of the leather string in there to create pull straps. It’s done.
If you’re not sure how to sew a beautiful pull strap, just find the image of your favorite cowboy boots, and sew following it!
It’s finished now!
Before you leave
You can completely cut down cowboy boots if you want, it will significantly change their style and revive your old boots.
However, you need to draw the cut line very carefully and then cut it meticulously to ensure a neat and accurate shape of boots.
Don’t forget to reinforce the newly cut top with 2 stitches close together, about 1/2 to 3/4 inch away from the top.
You can also add a pull strap if you want, in case you find the boots difficult to put on.
Good luck!
Howdy y’all, and welcome to From The Guest Room, your ultimate guide to all things Western! I’m Jay Gatz, a lifelong cowboy boot enthusiast with over 5 years of experience in the Western style world. I’m excited to share my knowledge with you and help you discover the perfect cowboy boots and western gear to elevate your style. Let’s explore the rich history and timeless appeal of Western fashion together!