
If you’re looking to add a touch of rugged Western flair to your wardrobe, there’s nothing quite like a pair of well-worn, ripped jeans.
These iconic garments have become a symbol of rugged individualism and cowboy cool.
In this comprehensive guide, we’ll show you how to make your very own ripped jeans that embody the Western spirit.
Whether you’re a seasoned DIY enthusiast or a newcomer to crafting, follow these step-by-step instructions to create a unique and stylish pair of distressed denim.
Quick Navigation
Where to Place Rips
When creating rips in your jeans to achieve a Western-style look, you can consider placing them strategically in the following areas:
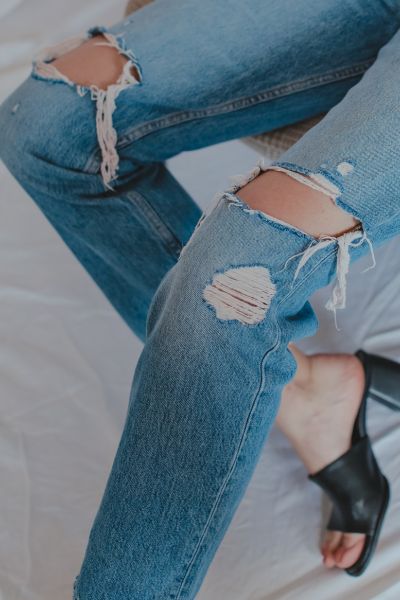
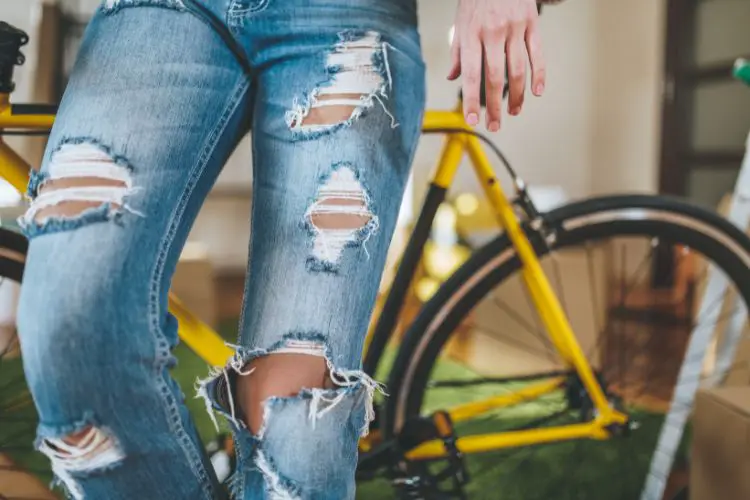
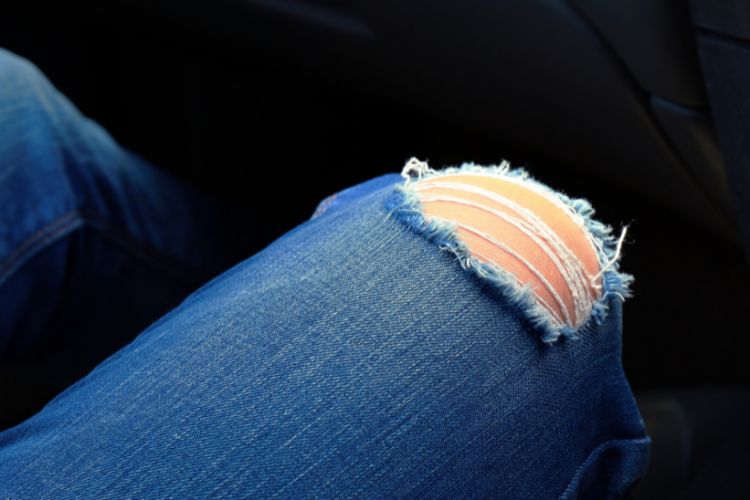
- Knees: Rips at the knees are a classic choice and can give your jeans a rugged, Western appearance. You can create single or double knee rips for added authenticity.
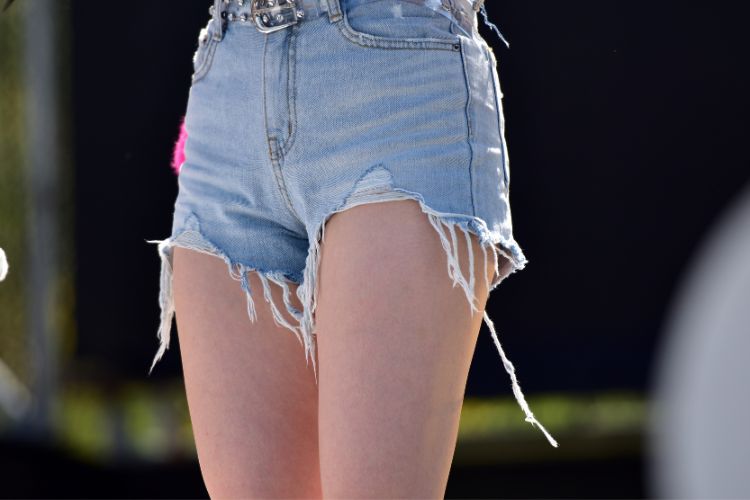
- Thighs: Distressing the thighs with rips can also contribute to the Western-style vibe. These rips can be horizontal or diagonal, depending on your preference.
- Front Pockets: Placing small rips near the front pockets can add a touch of authenticity to your Western-inspired jeans.
- Back Pockets: Similar to the front, small rips near the back pockets can enhance the distressed look of your jeans.
- Hems: Adding rips and fraying to the hem of the jeans can give them a worn-in appearance, which aligns well with Western style.
- Seat Area: Distressing the seat area with rips can create a unique look that’s reminiscent of well-worn cowboy jeans.
- Thigh to Knee: You can create a more extensive distressed area by having rips extend from the thigh down to the knee, creating a bold Western statement.
- Calf Area: Rips around the calf area can add another layer of detail to your jeans’ distressed look.
Remember that the key to achieving a Western-style appearance is not just the placement of the rips but also the overall rugged and worn-in look.
After creating the rips, you can enhance the distressed effect by fraying the edges and washing the jeans to achieve the desired worn-in appearance.
Method 1: Traditional Cut and Distress
This method is ideal for achieving an authentic Western look with a rugged, well-worn appearance.
It’s versatile and can create a distressed effect that mimics the natural wear and tear seen on vintage Western jeans. By focusing on cutting and fraying, you achieve a classic cowboy aesthetic.
Before we dive into the process, let’s gather the essential tools and materials:
- A Pair of Jeans: Start with a pair of jeans you want to distress. Old jeans work great, or you can pick up a new pair for this project.
- Chalk or Fabric Pen: This will help you mark the areas you want to distress.
- Scissors or a Utility Knife: To make precise cuts.
- Sandpaper or a Pumice Stone: This will help you achieve that worn, faded look.
- Tweezers: For pulling out blue threads and creating frayed edges.
- Cardboard: Insert it inside the jeans to prevent accidentally cutting through both sides.
- A Washing Machine: To complete the distressed look.
Step-by-Step Instructions:
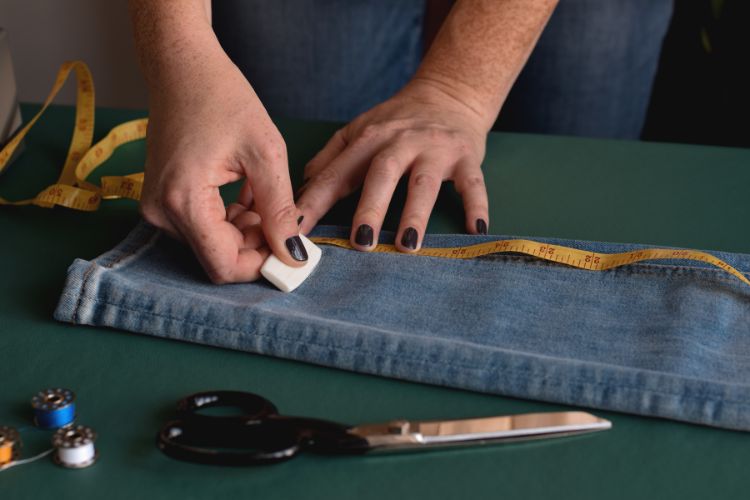
1. Plan Your Design
Lay your jeans flat and put on your creative hat. Using chalk or a fabric pen, mark the areas where you want to create rips and distressed patches.
2. Start Cutting
Carefully cut along the marked lines with scissors or a utility knife. Insert cardboard inside the jeans to prevent accidentally cutting through both sides.
Remember, less is more when it comes to cutting. You can always make more cuts later if you want a more distressed look.
TIPS: Instead of cutting all the way through the denim, you can make a shallow cut along the marked lines using scissors or a utility knife. Be careful not to cut too deep, as the goal is to create a controlled, surface-level rip.
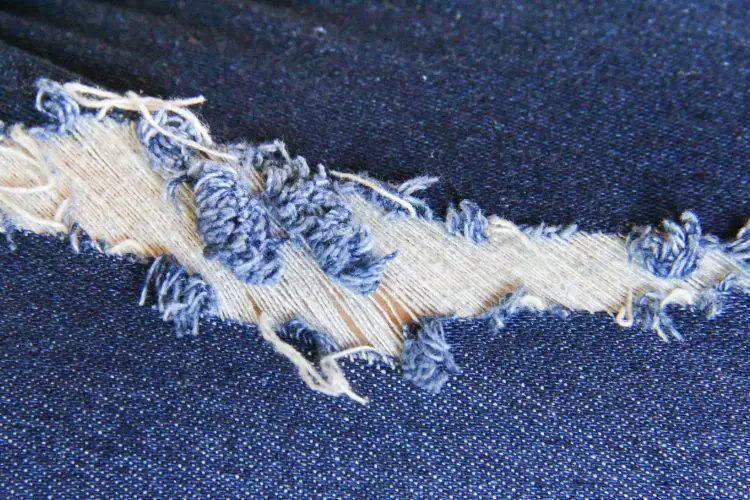
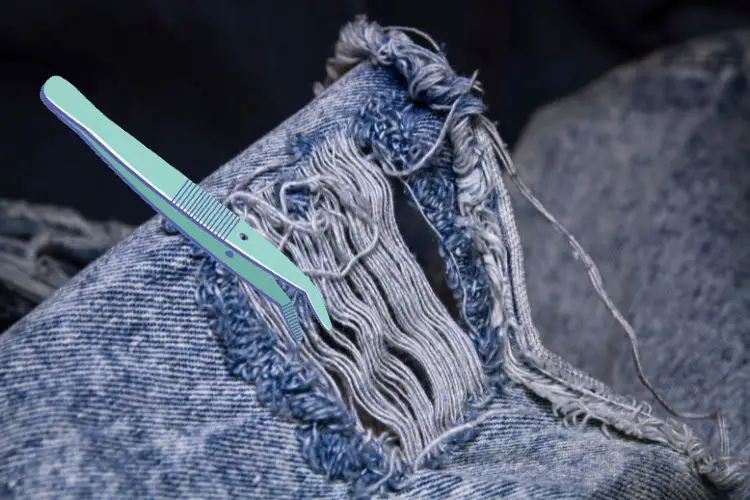
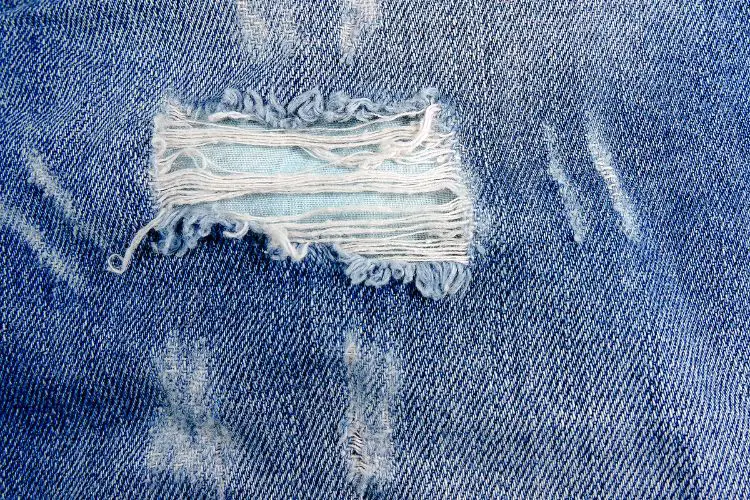
3. Fray the Edges
Use tweezers to pull out blue threads from the cut areas. This creates a frayed and worn appearance.
4. Sand and Distress
Take sandpaper or a pumice stone and rub it over the areas you’ve cut. This helps to soften the edges and fade the denim, giving it an authentic Western look.
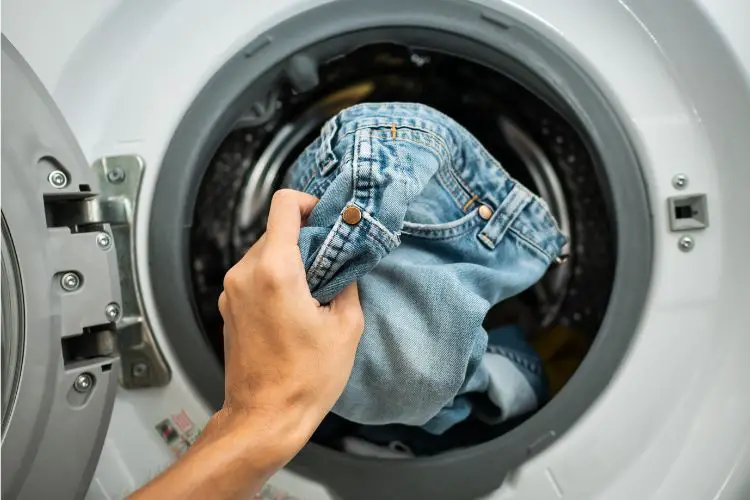
5. Wash and Dry
Put your jeans in the washing machine with a few other garments (to protect your washing machine) and wash them.
The agitation in the washer will further distress and soften the denim. Once washed, let them air dry.
6. Fine-Tuning
After they’ve dried, assess your jeans. If you want more distressing, repeat steps 3 to 5 until you achieve your desired look.
Method 2: Bleach and Rip for a Vintage Look
This method provides a vintage Western look by lightening the denim with bleach, which mimics the sun-faded appearance often seen on cowboy jeans.
The combination of bleaching and ripping creates a weathered and well-loved effect, perfect for those seeking a time-worn, Western-style appearance.
What You’ll Need:
- Bleach: To lighten the denim.
- Spray Bottle: To apply the bleach evenly.
- Gloves: For safety when working with bleach.
- Chalk or Fabric Pen: To mark where you want to create rips.
- Scissors or a Utility Knife: For cutting.
- Tweezers: To fray the edges.
- Cardboard: To protect the back of the jeans.
Step-by-Step Instructions:
1. Plan Your Design
Lay your jeans flat and use chalk or a fabric pen to mark the areas where you want to create rips. Think about the Western style you want to achieve. Then put on your gloves.
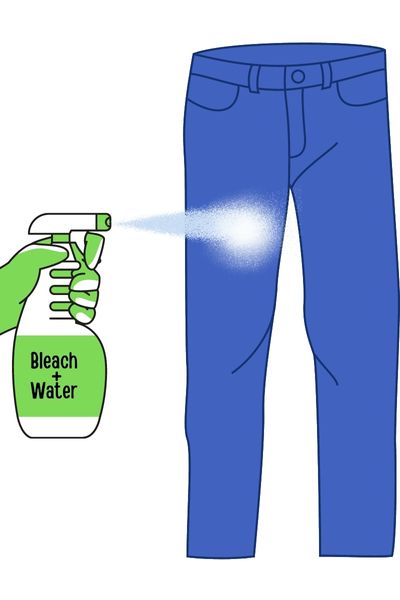
2. Apply Bleach
Dilute the bleach with water in a spray bottle (about 1:1 ratio). Spray the bleach solution onto the marked areas.
Allow it to sit for a few minutes, then rinse and wash the jeans to stop the bleaching process. Let them air dry.
Note: Be cautious when working with bleach, and follow safety precautions. It’s recommended to dilute the bleach for a milder effect and perform a test on a small, inconspicuous area of the jeans first.
3. Cut and Fray
Insert cardboard inside the jeans to protect the back of them.
Carefully cut along the marked lines with scissors or a utility knife. Use tweezers to pull out blue threads and create frayed edges.
4. Wash and Dry
Put your jeans in the washing machine to complete the distressed look. Once washed, let them air dry.
5. Fine-Tuning
Assess your jeans after they’ve dried. If you want more distressing, repeat the cutting, fraying, and washing steps until you achieve your desired look.
Method 3: Patchwork and Rip for a Rustic Vibe
For a Western look that’s both rugged and stylish, consider adding patches to your ripped jeans.
Patches can add visual interest and a distinct Western flair to your jeans. They can complement the ripped and distressed areas, creating a more textured and layered appearance.
While not strictly necessary, patches can reinforce the areas where you’ve made cuts, especially if you’re concerned about the durability of the jeans over time. The patches add an extra layer of fabric to the distressed areas.
What You’ll Need:
- A Pair of Jeans: Select your jeans for this project, it could be your old or new jeans.
- Fabric Patches: These can be denim or other Western-themed fabric.
- Iron and Ironing Board: To attach the patches.
- Needle and Thread: For extra reinforcement.
- Chalk or Fabric Pen: To mark where you want to create rips.
- Scissors or a Utility Knife: For cutting.
- Tweezers: To fray the edges.
- Cardboard: To protect the back of the jeans.
Step-by-Step Instructions:
1. Plan Your Design
Lay your jeans flat and use chalk or a fabric pen to mark the areas where you want to create rips. This step is essential for guiding where you’ll distress the jeans.
Insert cardboard inside the jeans at the places you want to cut.
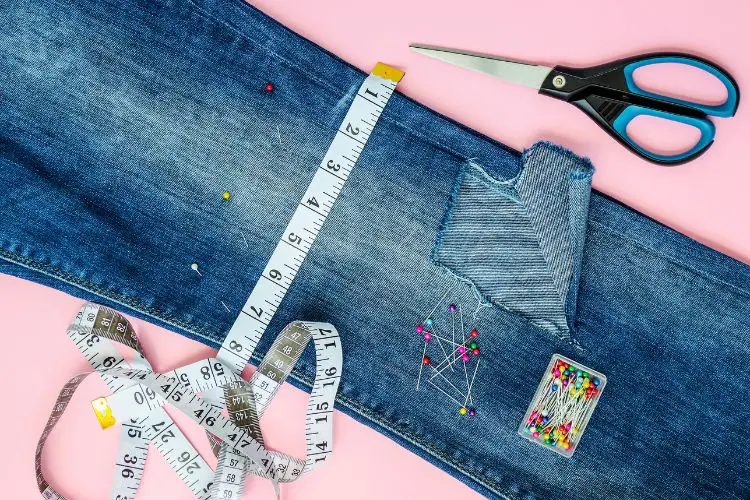
Step 2: Cut and Fray First
Begin by cutting along the marked lines with scissors or a utility knife. Use tweezers to pull out blue threads and create frayed edges in the areas you’ve marked.
3. Attach Patches
Attach denim patches to the inside of the jeans over the distressed areas. This helps preserve the distressed and frayed edges on the outside, creating the illusion of patches or repairs.
Iron on the fabric patches to the areas you’ve marked. You can also use a needle and thread for extra reinforcement.
By attaching the patches on the inside, you maintain the desired mendicant or patched effect while showcasing the distressed look on the outside of the jeans.
4. Wash and Dry
Put your jeans in the washing machine to complete the distressed look. Once washed, let them air dry.
5. Fine-Tuning
Assess your jeans after they’ve dried. If you want more distressing, repeat the cutting, fraying, and washing steps until you achieve your desired look.
Last Words
In just a few steps, you’ve created a pair of ripped jeans that perfectly capture the Western spirit. These jeans are not only stylish but also uniquely your own.
Remember, Western style is all about rugged individualism and a sense of adventure, and your customized ripped jeans are a testament to that.
Now that you know how to make ripped jeans, put your crafting skills to work, and express your Western-style flair in a way that’s truly personal.
Whether you wear them on a wild rodeo night or while exploring the great outdoors, your DIY ripped jeans will become a staple in your Western-inspired wardrobe.
So, grab your jeans, gather your materials, and start crafting your own one-of-a-kind Western masterpiece today.
Howdy y’all, and welcome to From The Guest Room, your ultimate guide to all things Western! I’m Jay Gatz, a lifelong cowboy boot enthusiast with over 5 years of experience in the Western style world. I’m excited to share my knowledge with you and help you discover the perfect cowboy boots and western gear to elevate your style. Let’s explore the rich history and timeless appeal of Western fashion together!